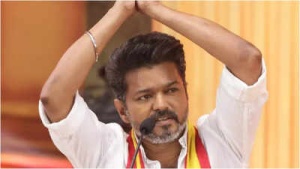
Vijay to Lead TVK in 2026 Tamil Nadu Election as Chief Ministerial Candidate
05/07/2025 09:16
10 views


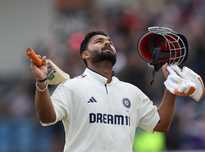 Greg Chappell: Rishabh Pant is Revolutionizing Cricket with Unorthodox Style
 Former India Selector Blasts Fielding Lapses After Test Defeat; Urges Patience With Team
 Optical Illusion Puzzle: Only 1% Can Find All Hidden Animals – Can You?
Indian Pacer Harshit Rana Released from Squad Ahead of Second England Test Amidst Series Pressure
Optical Illusion Puzzle: Only 1% Can Find All Hidden Animals – Can You?
Indian Pacer Harshit Rana Released from Squad Ahead of Second England Test Amidst Series Pressure
 Vegetarian Powerhouses: 20 Plant-Based Protein Sources That Outperform Eggs
 Asia Cup 2025: ACC Reportedly Targets September Start Amid Rising Hopes, Aims for Schedule Release Next Month
 Chess Prodigy: Nine-Year-Old Indian Player Secures Draw Against Magnus Carlsen
 Najmul Hossain Resigns as Bangladesh Test Captain After Sri Lanka Defeat
 Mirabai Chanu: Olympic Medalist Reveals Relentless Focus on Training, Weight Control Even During Family Time
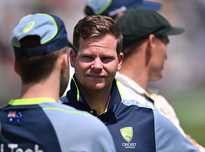 Smith Eyes Grenada Test Return After Injury Layoff